Choosing a Mini Garden Shovel looks simple until soil, roots, and hand comfort challenge the decision. A narrow blade may enter a crowded planter easily, yet bend against compacted clay. A wide blade moves more soil, but it can damage nearby seedlings. Small differences matter.
The National Gardening Association’s 2023 Garden Trends Report estimated that 80% of U.S. households participated in gardening activities. It also reported billions of dollars in annual gardening spending. These figures show a large, varied market, from balcony growers to professional nursery workers. However, market size does not guarantee product quality. Materials, blade shape, handle design, and grip safety still require careful inspection.
Horticulturist Felder Rushing once said, “Gardening is a way of showing that you believe in tomorrow.” That idea fits every careful tool choice. A reliable Mini Garden Shovel should feel balanced, not merely attractive. Look for stainless steel or hardened carbon steel, a secure shaft connection, and a handle that stays comfortable after repeated use. Check the measurement markings, too. They help when planting bulbs at consistent depths.
No shovel is perfect.
This guide, “10 Tips to Choose the Best Mini Garden Shovel,” examines practical details that product photos often hide. It considers digging force, corrosion resistance, portability, cleaning, and long-term value. Some recommendations may seem obvious. They are still easy to overlook. Personal experience also matters, because a tool that suits loose potting mix may struggle badly in wet garden soil. Sources include the National Gardening Association’s 2023 report and guidance from the Royal Horticultural Society on practical gardening tools.
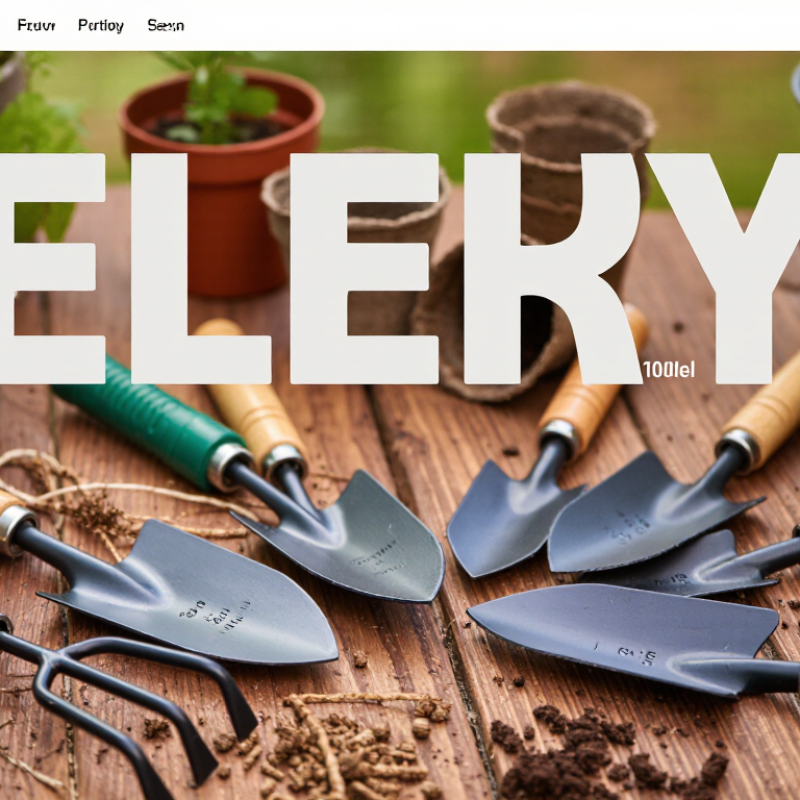
Before choosing a mini garden shovel, name the jobs it must handle. Are you planting seedlings in raised beds, loosening soil in pots, or removing weeds between crowded stems? A narrow blade reaches small spaces with less disturbance, while a broader scoop moves compost or potting mix faster. For balcony containers, a short handle may feel easier to control. In a deep garden bed, a slightly longer handle can save your wrist from repeated bending.
Look at your soil, too. Loose potting mix needs less force than compacted clay, which can make a tiny, thin blade frustrating to use. If you often transplant young herbs, choose a shovel with a smooth, narrow edge that slides beneath roots. For scooping, a curved blade can hold more soil. Check that the handle feels secure when your hands are damp, and that its grip suits your hand size. Try a few digging motions if possible. Comfort is personal.
Be specific. “General gardening” is too vague to guide a good choice. List your three most common tasks, then consider where you will store the tool and how long you use it at once. I once thought a smaller shovel would automatically be easier; in firm soil, it simply took more passes. That was a useful correction. Your needs may change with the season, so avoid paying for features you rarely use.
Blade Width Reference: Inches to Centimeters
Use blade width to match a shovel to your gardening tasks: narrower blades can help with precise planting in tight spaces, while wider blades can move more soil at a time. The centimeter values are exact unit conversions (1 inch = 2.54 centimeters); actual shovel sizes vary by tool.
10 Tips to Choose the Best Mini Garden Shovel
Compare Blade Shapes, Sizes, and Digging Performance
After testing mini garden shovels in raised beds and containers, I look at the blade before the handle. A pointed blade enters compact soil more easily, especially around roots and dry clay. A rounded blade suits loose compost and planting annuals. Narrow blades work well in crowded pots, while wider blades move soil faster. However, wide blades can damage nearby roots. That detail is easy to miss.
Blade size affects control. A five- to seven-inch blade usually balances depth and precision for everyday planting. Short blades feel safer in small containers, but they may require more wrist movement. Longer blades reach deeper ground, although they can feel awkward between closely spaced plants. Hold the tool before buying. Comfort changes digging performance.
Pay attention to blade thickness, edge sharpness, and the joint connecting the blade to the handle. A slightly sharpened edge cuts firm soil, but an overly thin edge may bend. Press the shovel into the ground with your foot and check whether the handle twists. It should feel solid. Keep the blade clean and dry after use. That matters.
I also compare weight. Lightweight tools reduce fatigue, yet very light metal may lack strength. My own choice is not always perfect; a narrow blade sometimes stalls in heavy soil. Still, it protects roots and offers better control. Consider your soil, planting space, hand strength, and typical digging depth before choosing.
| Tip | Blade Shape or Feature | Typical Size or Build | Best For | Digging Performance | What to Check |
|---|---|---|---|---|---|
| 1. Match the blade to the task | Narrow, pointed blade | Usually about 5–8 cm wide | Planting bulbs, seedlings, and small perennials | Enters compact soil precisely and makes narrow planting holes | Choose a sturdy tip that is not so sharp or narrow that it bends in stony ground. |
| 2. Choose a rounded blade for general planting | Rounded or scoop-shaped blade | Usually about 7–10 cm wide | Transplanting, moving loose soil, and filling pots | Moves a useful amount of soil while remaining easy to control | Look for a smooth bowl that releases soil without deep ridges or rough edges. |
| 3. Consider a narrow transplanting blade | Long, slim blade with a rounded or pointed end | Often about 15–20 cm long | Working between closely spaced plants | Reaches into tight spaces with less disturbance to neighboring roots | Check that the blade is long enough for the task but still comfortable to maneuver. |
| 4. Use a serrated edge only when useful | Serrated side or cutting edge | Blade width varies by model | Cutting through fibrous roots or opening a bag of potting mix | Can saw through resistant material, but may disturb roots more than a smooth blade | Keep the edge protected and avoid using it where a clean, delicate cut is important. |
| 5. Pick a blade width that suits your garden | Compact blade for precision; wider blade for scooping | About 5–10 cm wide for many hand shovels | Small containers, raised beds, or open garden beds | Narrow blades are easier to place accurately; wider blades shift more loose soil per scoop | Consider plant spacing, pot openings, and how much soil you usually move. |
| 6. Check blade length and depth | Short blade for shallow work; longer blade for deeper holes | Blade length commonly varies around 10–20 cm | Container planting or deeper transplanting | A longer blade can reach deeper, while a shorter blade offers more control in confined spaces | Compare the usable blade length with typical planting depth; avoid relying on the handle for depth measurement. |
| 7. Select a material for your soil conditions | Stainless steel, coated steel, or another corrosion-resistant metal | Material and thickness vary | Regular outdoor use and damp soil | A rigid blade transfers force effectively; corrosion resistance helps with routine exposure to moisture | Inspect the blade for flex, rust protection, and a secure connection to the handle. |
| 8. Test handle comfort and grip | Contoured, textured, or cushioned handle | Handle length and diameter vary by hand size | Repeated planting and longer gardening sessions | A comfortable grip can improve control and reduce hand fatigue | Hold the tool if possible; check that the grip is secure, not slippery, and comfortable with gloves. |
| 9. Inspect the blade-to-handle joint | Full tang, reinforced joint, or securely fastened socket | Construction differs between designs | Firm soil and frequent use | A strong joint helps the tool withstand pushing and levering forces | Look for movement, cracks, gaps, or loose fasteners; do not use the shovel as a pry bar. |
| 10. Match the tool to your soil | Pointed, rigid blade for firmer soil; broad scoop for loose soil | Choose size based on soil texture and planting space | Clay, loam, sandy soil, or potting mix | Loose soil is generally easier to scoop; dense or stony soil needs a rigid blade and may require a larger tool | For very hard, compacted, or rocky ground, loosen the soil first rather than forcing a small shovel. |
Tip 1: Test the handle before judging the blade. Hold the mini garden shovel with relaxed fingers for one minute. Your thumb should rest naturally, not press hard against the shaft. The EU-OSHA ESENER-3 report identified repetitive hand or arm movements as a workplace risk factor in about 61% of surveyed establishments. Gardening is not factory work, but repeated digging can still punish a tense grip.
Tip 2: Check grip comfort with real movement. Scoop dry soil, press into compacted earth, and rotate the tool gently. A rounded handle with a slightly textured surface can reduce slipping when your palm is damp. Avoid sharp seams or oversized grips. The handle should fill your palm without forcing your fingers wide apart. Small details matter.
Tip 3: Evaluate balance, not just weight. Place one finger beneath the shaft and observe where the tool naturally rests. If the head drops suddenly, your wrist may work harder during repeated scooping. Ergonomic guidance from NIOSH links awkward wrist positions, force, and repetition with greater musculoskeletal strain. That evidence supports a neutral wrist, but it does not guarantee comfort for every gardener.
My practical test is imperfect. Soil type, hand size, and glove thickness change the result. Try several angles and switch hands briefly. A shovel can feel balanced in a store, then awkward after twenty minutes beside a raised bed. Choose the model that keeps your wrist nearly straight and your grip calm.
A mini garden shovel should feel solid before it ever touches soil. In my experience, a tempered carbon-steel blade cuts compact soil better than thin aluminum. However, carbon steel can rust quickly when stored damp. Stainless steel resists rust more effectively, although cheaper versions may bend under pressure. Check the blade thickness, clean edges, and handle joint. A loose ferrule usually signals poor construction.
Tip: Hold the shovel and press the blade gently against the ground. It should flex slightly, not wobble. Look for smooth welds or strong rivets around the blade connection. Sharp edges help with roots, but dangerously thin edges may chip. I once chose a very light tool for balcony planting. It felt convenient, but the handle cracked after several hard uses. That choice was not ideal.
Durability also depends on surface protection. A powder-coated blade can resist moisture, but scratches may expose the metal underneath. Inspect the coating for bubbles, gaps, and peeling areas. After use, remove soil, dry the shovel fully, and apply a thin layer of protective oil when needed. Storage matters more than many buyers expect. Never leave the tool buried in wet soil overnight. A rubberized grip improves comfort, but it should remain firmly attached. Material claims alone are not enough; examine the actual finish, balance, and connection before buying.
A mini garden shovel should match both your budget and your maintenance habits. On a tight budget, choose a sturdy steel blade with a simple handle. Decorative finishes often add cost without improving digging performance. Check the blade edges, joint, and grip before buying. A loose connection can become annoying after only a few planting sessions.
I once chose the cheapest tool for balcony pots. Its narrow blade bent in hard, dry soil. That small mistake taught me to consider soil conditions, not only the price tag. For raised beds, a medium-strength blade may be enough. For compacted ground, pay more for thicker metal and a reinforced neck. A comfortable rubberized grip can also prevent blisters during repeated work.
Maintenance affects the real cost. Rinse soil from the shovel after use, then dry it completely. Even stainless steel can stain when stored wet. Carbon steel needs occasional protective oil, especially in humid sheds. Wooden handles require inspection for cracks and rough splinters. Store the shovel where water cannot collect around the joint. I sometimes skip this step, and rust appears faster than expected. A cheaper shovel may still serve well with careful storage. However, a slightly better tool can save replacement money when your garden work is frequent.
Hold it with relaxed fingers for one minute. Your thumb should rest naturally. It should not press hard against the shaft. Try scooping dry soil and rotating the tool gently. A rounded, lightly textured handle may reduce slipping with damp palms.
Avoid sharp seams, oversized grips, and loose rubber coverings. The handle should fill your palm without spreading your fingers too widely. Try it with your usual gardening gloves. A grip that feels comfortable barehanded may feel bulky with gloves.
Place one finger beneath the shaft and see where the tool rests. If the blade drops suddenly, your wrist may work harder. Choose a shovel that keeps your wrist nearly straight. Balance is personal. My quick test is not perfect.
No. A heavier tool may feel stable but become tiring during repeated scooping. A very light shovel may bend in compacted soil. Consider your soil, hand strength, and gardening duration. Comfort matters after twenty minutes, not only at the store.
A tempered steel blade can handle compact soil effectively. Stainless steel usually resists rust better. However, cheaper versions may bend under pressure. For raised beds, medium strength may be enough. Compact ground needs thicker metal and a reinforced neck.
Check the blade thickness, clean edges, and handle joint. Press the blade gently against the ground. It should flex slightly, not wobble. Look for smooth welds or strong rivets. A loose ferrule signals possible trouble.
Remove soil after every use and dry the shovel completely. Do not leave it buried in wet soil overnight. Apply a thin layer of protective oil when needed. Store it where water cannot collect around the joint. I sometimes skip this step, and rust appears quickly.
Choose a sturdy blade and simple handle when money is limited. Decorative finishes may increase cost without improving digging. Spend more when soil is hard or gardening is frequent. A slightly better tool may reduce replacement costs. Still, careful storage can extend a cheaper shovel’s life.
Choosing the right Mini Garden Shovel starts with understanding the jobs you need it to handle, such as planting seedlings, loosening soil, or working in narrow garden beds. Consider the blade’s shape and size: a pointed blade can help with firm soil, while a broader one may be better for scooping and moving loose material. Matching the blade to your typical tasks can make digging more efficient and comfortable.
Pay attention to the handle’s grip, length, and balance, since these affect control and reduce strain during repeated use. Check that the materials feel sturdy and are suitable for regular outdoor use, with good resistance to wear and rust. Finally, compare the price with the shovel’s expected durability and the care it requires. A well-chosen tool should suit both your gardening needs and your budget.

Jinyuan